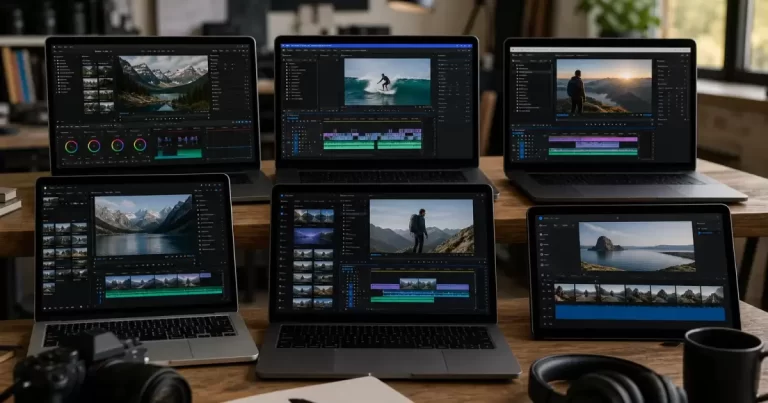
The best video editor for your work is the one that can take your actual footage through editing, review and delivery without creating avoidable problems. A long feature list does not tell you whether your laptop can play the files smoothly, whether captions are easy to correct or whether another editor can reopen the project.
Use one representative project to compare a short list of candidates. This is a selection method, not a claim that we tested or ranked every editor. Keep the footage, deliverable and computer the same for each trial. The resulting evidence is more useful than comparing unrelated demonstrations filmed on different equipment.
Define the video you need to deliver
Write a brief that describes the finished output. Include its approximate duration, aspect ratio, resolution, language and destination. A vertical product clip with burned-in captions has different requirements from a long interview with separate subtitle files. Also list the revisions you expect: changing prices on screen, replacing a logo or creating several shorter versions.
Choose footage that represents normal work rather than the easiest available sample. Include a phone recording, external microphone audio or screen capture if those sources appear regularly in your projects. Add one difficult clip, such as low-light footage or a longer recording, so the trial exposes problems before you commit a full production.
Check the computer and media together
Read each candidate’s current system requirements and supported-media documentation. Record your operating system, memory, graphics hardware and available storage. A file extension alone does not fully describe a clip: two MP4 files can contain different video encodings and behave differently in the same application.
Import the test footage and inspect picture, audio and duration. Scrub through the timeline and play sections with several layers. Record stutters, missing audio and import errors with enough detail to reproduce them. Separate a media incompatibility from a slow computer or full storage drive. Otherwise you may reject an editor for a problem that affects every candidate.
Evaluate the proxy workflow
Proxies are lighter copies used during editing when the original files are demanding. Adobe’s Premiere proxy documentation explains this approach. Blackmagic also documents proxy-based media sharing within DaVinci Resolve collaboration. These are examples of documented workflows, not evidence that either application is automatically best for your computer.
For each candidate, determine how proxies are created, linked and switched. Check whether the final export uses the intended source quality and whether missing originals are clearly reported. Include proxy-generation time and storage in your comparison. Faster timeline playback is valuable, but a workflow that nobody on your team can maintain may be a poor fit.
Make the same short edit in each candidate
Assemble the opening, trim a spoken section, add supporting footage and adjust the audio. Add a title, a logo and one transition that the real project needs. Avoid testing dozens of effects that you are unlikely to use. The purpose is to evaluate the repeated tasks that will consume your working week.
Keep notes on how easily you find controls, undo mistakes and make precise changes. Distinguish unfamiliarity from a missing capability. A tool may become easier after a short tutorial, while an unsupported export format remains a limitation. Record the learning needed rather than treating your first ten minutes as a definitive speed benchmark.
Check captions as editable information
If automatic captions are available in the tested plan, generate them from the same audio. Correct names, technical terms, punctuation and timing. Check how the application handles multiple speakers and long lines. Do not judge transcription quality from a clean vendor sample when your recordings include background noise or specialized vocabulary.
Export the caption format your distribution workflow needs. Burned-in text becomes part of the picture; a separate subtitle file serves a different purpose. Verify readability on a phone and make sure captions do not cover important content. Include the time spent correcting errors in your notes, even when the initial transcription appears almost instant.
Finish an export before judging the editor
Export the actual deliverable and watch the resulting file from beginning to end. Check the opening frame, aspect ratio, audio level, image quality, captions and ending. Confirm that the trial or selected plan does not introduce an unacceptable watermark or restrict the necessary output. Inspect the current terms rather than assuming a feature is included because it appears in a menu.
Upload a private test to the intended destination when your workflow permits it. A file that plays locally may still produce an awkward crop or unreadable text after platform processing. Keep the original export and note any differences. This also gives you a reusable delivery checklist for future projects.
Test review and handover
Ask a colleague to request a small revision using the review method you plan to adopt. Can the editor identify the correct moment and change it without confusion? Then close and reopen the project. If collaboration matters, test the supported handover method with the relevant media, fonts and assets.
Do not assume that exporting a project file includes everything another person needs. Record what must be collected, where it is stored and which application version is required. Check whether project history and source media remain accessible if you change plans or stop using a cloud service. Ask the vendor when the current documentation leaves an important gap.
Choose from the evidence you collected
Compare candidates on successful import, editing usability, caption correction, verified export and handover. Add the full recurring cost and any required storage or add-ons from current vendor information. Keep software cost separate from the time your team spends learning and maintaining the workflow.
Select the simplest option that passes your essential requirements. If two candidates both work, favour the one your team can use consistently and recover confidently after a mistake. Keep the test project as a baseline for future upgrades. You can revisit our video-editing software overview for candidate discovery, then validate the current version and plan against this project before deciding.
Frequently Asked Questions
What is the best video editing software for business?
It depends on your team: simple tools suit social clips, while professional suites suit long-form and branded content. Test one real project before buying.
Is free video editing software good enough?
For basic social videos, often yes. Paid tools add better colour, audio and collaboration features.
Should businesses edit videos in-house?
For frequent short clips, yes; for flagship brand videos, a professional team saves time and improves quality.
Who produces business videos in Toronto?
Our video production services handle filming and editing.