Every website owner wants their content to appear on Google. After all, ranking on the world’s largest search engine can bring in traffic, build brand awareness, and boost conversions. But here’s the thing: Google can’t rank what it can’t find. That’s where your sitemap comes in.
A sitemap is your website’s way of saying, “Hey Google, here’s all the important stuff I want you to know about.” It tells search engines what pages exist on your site and guides them to find, crawl, and index your content. Submitting your sitemap is one of the easiest ways to make sure your site is fully visible to Google, yet so many website owners overlook this step.
If you’re one of those who’ve never submitted a sitemap or you’re unsure how to do it, don’t worry. In this guide, I’ll walk you through everything you need to know about sitemaps, from what they are and why they matter to how you can create, optimize, and submit yours to Google for better SEO results.
✔️ Read related article: Keyword Research Tools for Local Businesses 2025 : Free and Paid
What is a Sitemap and Why is it Important?
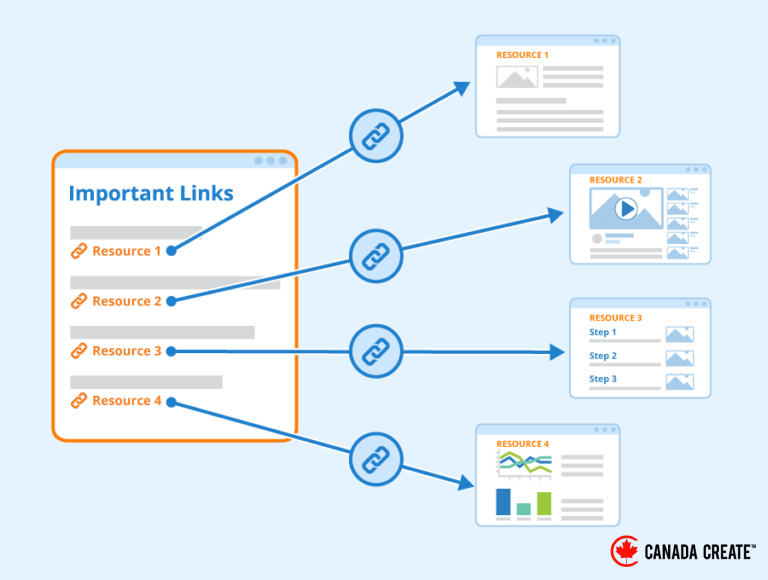
Let’s start with the basics. A sitemap is a file, usually in XML format, that lists all the important pages on your website. It gives search engines a clear roadmap of your site so they can find and index your content faster and more accurately.
Think of your sitemap as a tour guide. Without one, Google’s crawlers (the bots that scan websites) have to wander around your site trying to figure out where everything is. This can be slow and ineffective, especially if your site is large, complex, or poorly linked internally. With a sitemap, you’re handing them a map that shows exactly where your homepage, blog posts, product pages, and other important content are located. This makes their job easier, and in return, they’re more likely to prioritize indexing your pages.
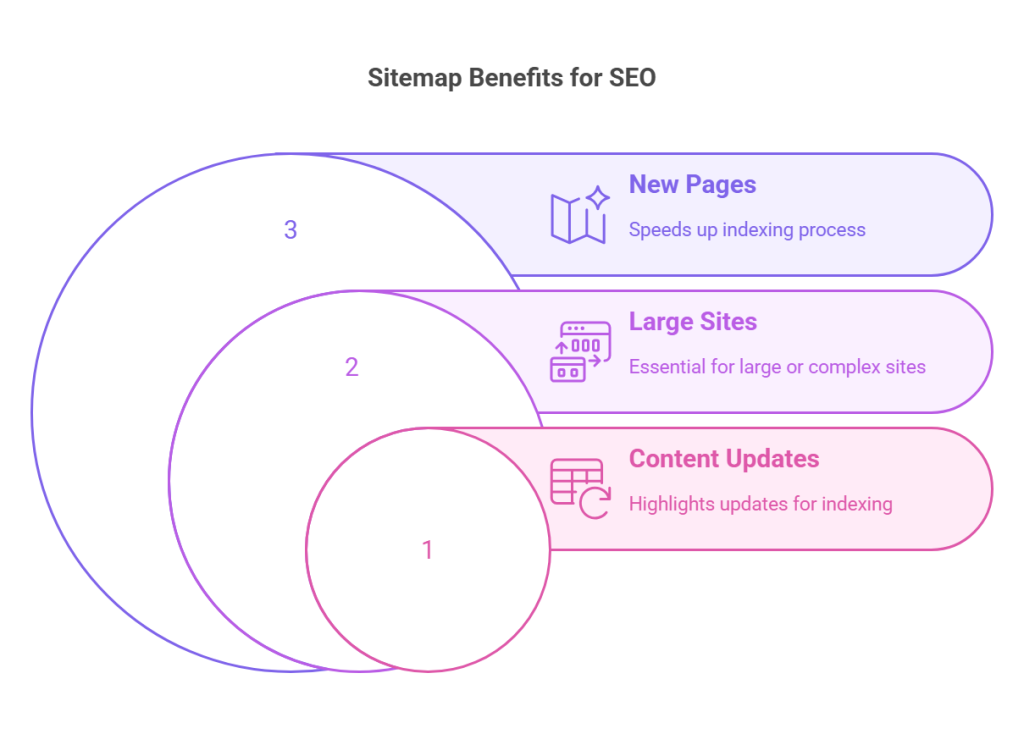
So, do you really need a sitemap? Technically, no. If your website is small and well-structured, Google might still discover most of your content. But having a sitemap offers several benefits:
- It speeds up the indexing process. For new websites or pages, submitting a sitemap ensures Google knows about them right away.
- It’s essential for large or complex sites. If you have an e-commerce site with hundreds of products or a blog with years of archived posts, a sitemap helps Google navigate your content efficiently.
- It highlights updates. When you add new content or make changes to existing pages, your sitemap tells Google to revisit and index those updates.
How to Create a Sitemap?
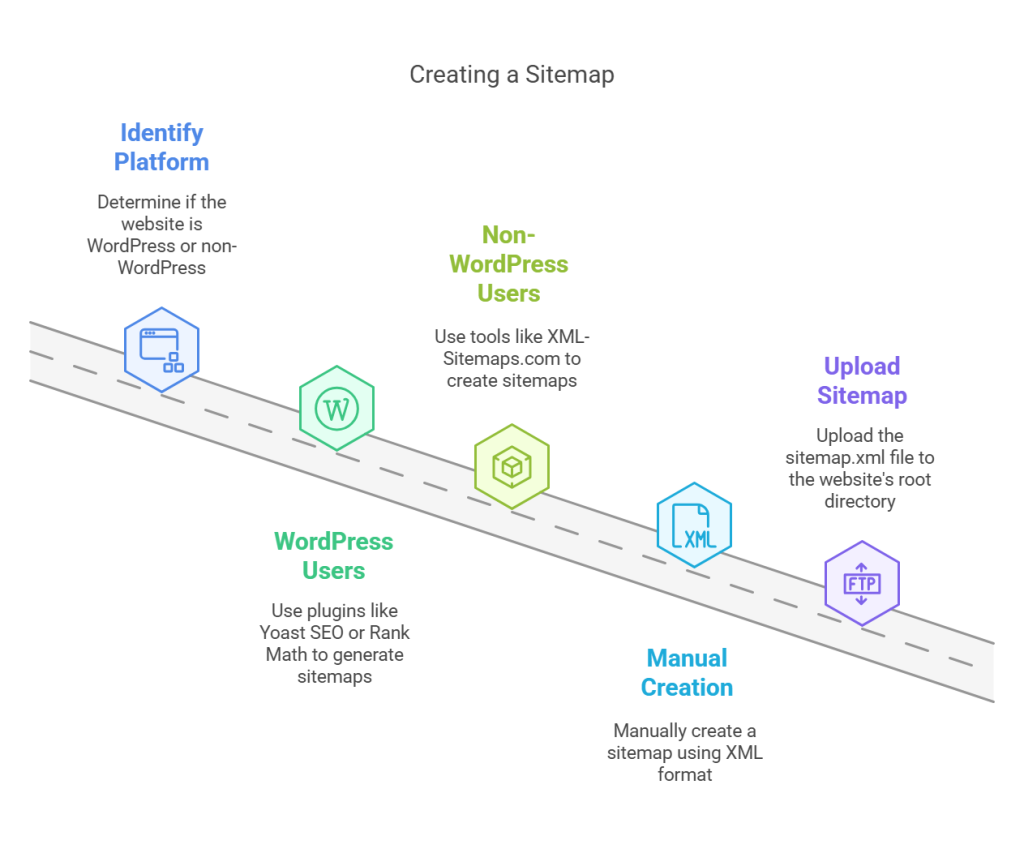
The good news is that creating a sitemap is easier than ever, thanks to tools and plugins that do most of the work for you. Here’s how you can create a sitemap based on your platform:
1. WordPress Users
If your site is built on WordPress, you’re in luck. Several plugins can generate a sitemap for you automatically. The most popular options are:
- Yoast SEO: This plugin generates an XML sitemap as soon as you activate it. To find it, go to your WordPress dashboard, click on “SEO” in the left-hand menu, and navigate to the “Features” tab. Ensure the “XML Sitemaps” option is enabled. Once enabled, click on the question mark icon next to it to view your sitemap URL. It will look something like this:
www.yourwebsite.com/sitemap_index.xml. - Rank Math: Similar to Yoast, this plugin creates a sitemap for you automatically. You can find it under the “Sitemap Settings” section of the plugin dashboard.
Both plugins ensure your sitemap updates automatically whenever you publish new content.
2. Non-WordPress Websites
If you’re not using WordPress, don’t worry, there are plenty of free tools available to generate a sitemap. For example, XML-Sitemaps.com is a user-friendly tool that lets you create a sitemap for up to 500 pages for free. Simply enter your website URL, and the tool will generate a downloadable XML file.
3. Manually Creating a Sitemap
For developers or tech-savvy users, you can create a sitemap manually. An XML sitemap follows a specific format, listing each URL with details like the last modification date. Here’s an example:
<urlset xmlns=”http://www.sitemaps.org/schemas/sitemap/0.9″>
<url>
<loc>https://www.yourwebsite.com/</loc>
<lastmod>2023-01-01</lastmod>
<changefreq>daily</changefreq>
<priority>1.0</priority>
</url>
</urlset>
Save the file as sitemap.xml and upload it to the root directory of your website using an FTP client or your hosting provider’s file manager.
Want a free 15-minute SEO audit of your site?
Amir Vincent will personally walk through your site, tell you two things to fix this week, and give honest pricing if you want us to do the work. Toronto team, since 2008.
✔️ Read related article: How to Check Robots.txt Files and Optimize Them for SEO?
How to Submit Your Sitemap to Google?
Once your sitemap is ready, submitting it to Google is a straightforward process. You’ll need to use Google Search Console, a free tool that lets you manage your site’s presence on Google.
Step-by-Step Guide to Submitting Your Sitemap
- Log into Google Search Console. Go to Google Search Console and sign in with your Google account. If you haven’t already added your website, you’ll need to do that first by verifying ownership. This typically involves adding a small HTML tag to your site or verifying through your domain registrar.
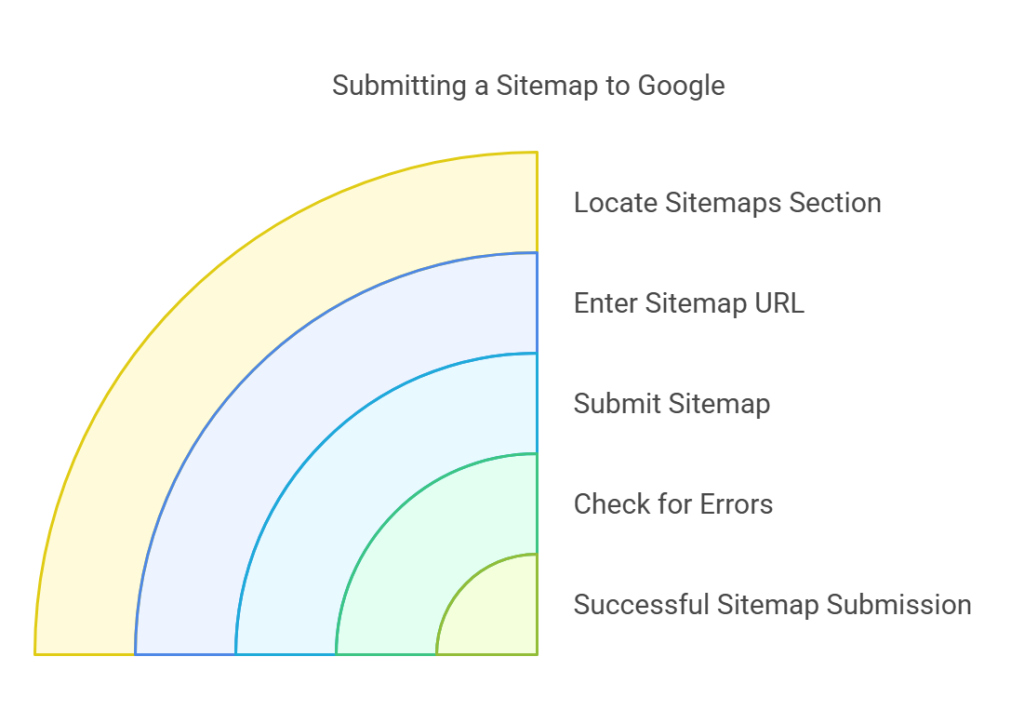
- Locate the Sitemaps Section. In the left-hand menu, click on “Sitemaps.” This will take you to a page where you can manage all sitemap submissions.
- Enter Your Sitemap URL. In the field labeled “Add a new sitemap,” type the URL of your sitemap. For example, if your site is
www.example.com, your sitemap URL will likely bewww.example.com/sitemap_index.xml. - Click Submit. Once you’ve entered the URL, hit the “Submit” button. Google will start processing your sitemap, and you’ll see its status under the “Submitted Sitemaps” section.
- Check for Errors. After submitting your sitemap, check back in Search Console to ensure there are no errors. If Google encounters any problems, such as broken links or inaccessible pages, it will notify you here.
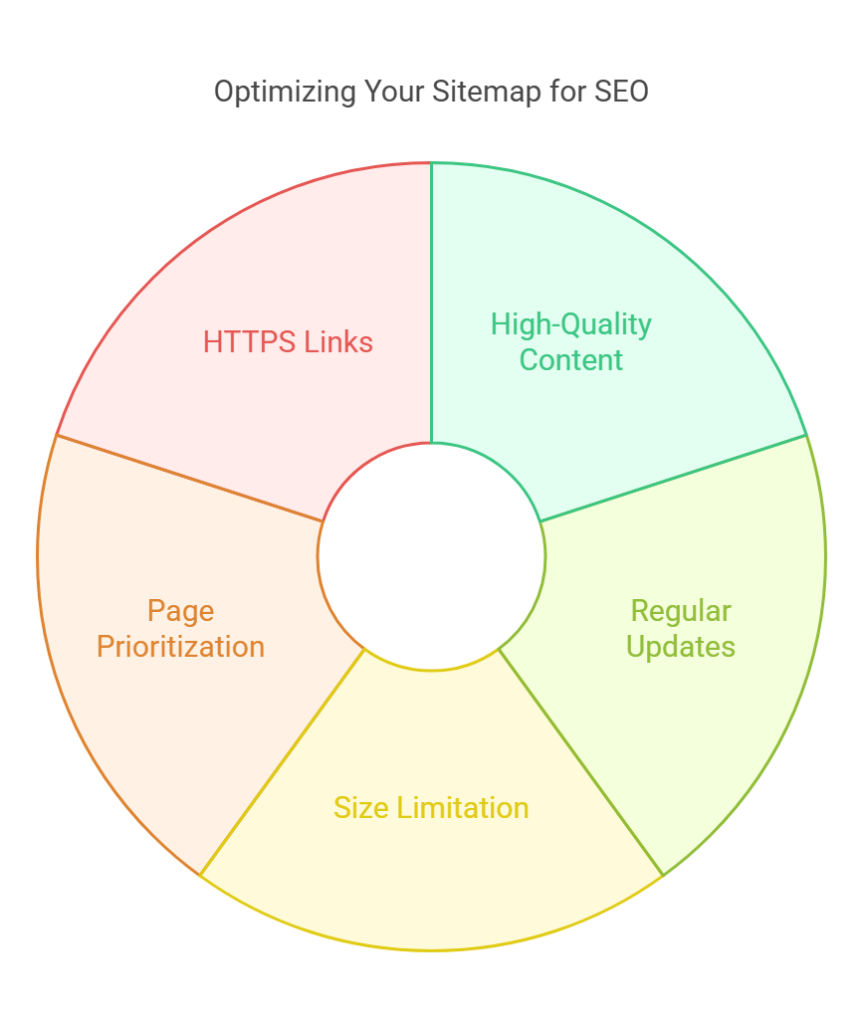
Best Practices for Optimizing Your Sitemap
Simply submitting a sitemap isn’t enough, you need to ensure it’s optimized for search engines. Here are some tips to make the most of your sitemap:
- Focus on High-Quality Content. Only include pages you want Google to index. Avoid adding duplicate pages, thin content, or “noindex” pages to your sitemap.
- Keep Your Sitemap Updated. Your sitemap should reflect your current website structure. If you add new pages or delete old ones, make sure your sitemap updates accordingly. Most plugins handle this automatically.
- Limit the Size. A single sitemap can include up to 50,000 URLs or 50MB of data, but it’s a good idea to keep it smaller. If your site exceeds this limit, create multiple sitemaps and link them together in a sitemap index file.
- Prioritize Important Pages. Use the
<priority>tag in your sitemap to signal which pages are the most important. For example, your homepage and primary landing pages should have a higher priority than blog archives. - Use HTTPS Links. If your site uses HTTPS (and it should!), make sure your sitemap URLs also use HTTPS to avoid confusion.
Common Mistakes to Avoid
Submitting a sitemap is simple, but a few common mistakes can hurt your SEO. Here’s what to avoid:
- Submitting a sitemap with outdated or broken URLs.
- Including non-canonical URLs or pages with duplicate content.
- Forgetting to monitor your sitemap’s performance in Search Console.
- Overloading your sitemap with low-value pages, like tag or category archives.
Need Web Design in Toronto? Call us
Final Thoughts
Submitting a sitemap to Google is one of the easiest ways to improve your site’s visibility and ensure all your hard work gets noticed. By creating and optimizing your sitemap, you’re making it easier for Google to understand your content, crawl it efficiently, and rank it appropriately. Whether you’re running a small blog or managing a large e-commerce site, this is a step you can’t afford to skip.
Now that you know how to create, submit, and optimize your sitemap, it’s time to put this knowledge into action. Head over to Google Search Console, submit your sitemap, and start reaping the benefits of better SEO today.
By Amir Vincent, Founder & Digital Strategy Lead at Canada Create. Last updated July 15, 2026.
Step-by-Step: Sitemap Google
This section is kept current as part of our ongoing coverage of Sitemap Google, reviewed by Canada Create for accuracy in 2026. Here is what matters most for Canadian small businesses looking into this topic.
- Updated pricing and feature notes reviewed for accuracy in 2026.
- Real world context drawn from client projects.
- Direct comparisons so you can make a decision without guessing.
Common Mistakes to Avoid
Here is what matters most for Canadian small businesses looking into Sitemap Google this year.
- Updated pricing and feature notes reviewed for accuracy in 2026.
- Real world context drawn from client projects.
- Direct comparisons so you can make a decision without guessing.
Tools and Resources
Here is what matters most for Canadian small businesses looking into Sitemap Google this year.
- Updated pricing and feature notes reviewed for accuracy in 2026.
- Real world context drawn from client projects.
- Direct comparisons so you can make a decision without guessing.
Frequently asked questions
How do I get started with sitemap google?
Start by listing your must have features, set a monthly budget, and compare at least three options side by side. Our team at Canada Create finds that testing the top two picks with a trial period helps before committing.
What is the average sitemap google?
This depends on your specific goals and setup. In general, reviewing the guide above and reaching out helps if you have questions about Sitemap Google.
Is sitemap google worth it for a small business?
This depends on your specific goals and setup. In general, reviewing the guide above and reaching out helps if you have questions about Sitemap Google.
What factors affect sitemap google?
This depends on your specific goals and setup. In general, reviewing the guide above and reaching out helps if you have questions about Sitemap Google.
Want expert help? Talk to our team today.
Author bio
Written by our team, Founder & Digital Strategy Lead. Since 2008, Canada Create has helped Canadian small and medium businesses grow online with web design, SEO, and digital marketing services. Contact us at info@canadacreate.com or (416) 273-9030 for a free consult.