

Client Background
The client is a casual dining restaurant chain with three locations across the Greater Toronto Area, in North York, Etobicoke, and Scarborough, specializing in Mediterranean-inspired shareable plates. Founded by two brothers who started with a single location eleven years earlier, the chain had grown steadily through strong food quality and loyal neighbourhood followings at each of its three restaurants. Each location operated with its own small management team, and marketing had historically been handled inconsistently, with each restaurant manager posting to social media on their own schedule and no centralized strategy for online visibility or ordering.
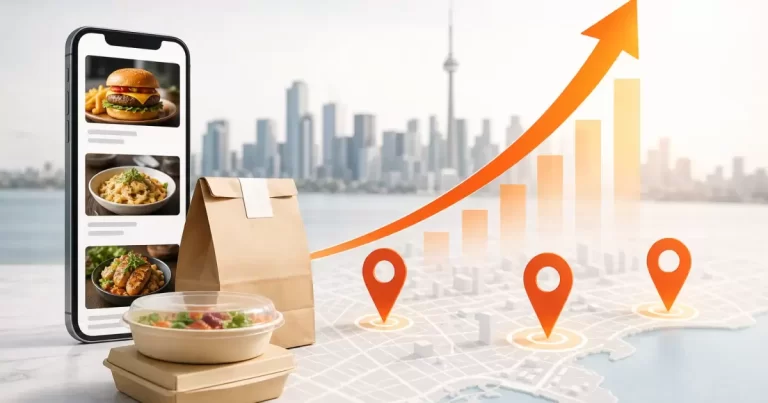
With delivery and takeout now representing a significant share of restaurant revenue across the industry, ownership recognized that the chain’s digital presence had not evolved to match how customers were actually discovering and ordering from restaurants.
The Challenge
Each of the three locations had a separate, inconsistent Google Business Profile, with duplicate listings in some cases, outdated hours, and conflicting information about which locations offered delivery versus pickup only. This confusion was actively costing the chain visibility in local map pack results, where competing restaurants with cleaner, more complete profiles consistently outranked all three locations for searches like “Mediterranean restaurant near me.”
The chain’s website was a single, dated page with a PDF menu and no location-specific pages, meaning none of the three restaurants could rank individually for their own neighbourhood searches. Online ordering was outsourced entirely to third-party delivery platforms, which meant the chain was paying commission fees of up to 30 percent on every order with no way to capture direct, repeat customers or build an owned customer database.
Ownership wanted each location to rank strongly in its own neighbourhood, reduce dependency on expensive third-party delivery commissions, and build a more consistent brand presence across all three restaurants.
The Solution
Canada Create began by auditing and consolidating the Google Business Profiles for all three locations, removing duplicate listings, correcting hours and service attributes, and building out a consistent photo and menu presence across each profile. A location-specific review generation system was implemented using table tent QR codes and post-visit text follow-ups, tailored to each restaurant’s natural customer flow.
The team then rebuilt the chain’s website with dedicated, individually optimized pages for each of the three locations, each targeting neighbourhood-specific searches such as “Mediterranean restaurant Etobicoke” and “shareable plates Scarborough,” while maintaining a consistent brand experience and shared menu content across the group. A native online ordering system was integrated directly into the website, allowing customers to order for pickup or delivery without going through third-party platforms, with promotional incentives built in to encourage customers to switch from delivery apps to direct ordering.
Canada Create built a centralized but location-aware social media content calendar, ensuring each restaurant maintained its own local flavour and community engagement while operating under a consistent brand voice and posting schedule managed by Canada Create rather than left to individual managers’ availability. Location-specific landing pages were also built to support seasonal promotions and catering inquiries, which had previously been handled entirely through word of mouth with no online presence at all.
Local link building focused on GTA food blogs, neighbourhood business associations, and event sponsorships each location already participated in, reinforcing the local relevance signals Google uses to rank restaurants in map results.
Results
Within four months, the chain saw meaningful gains in visibility, direct ordering, and reduced reliance on costly third-party platforms.
- Combined organic traffic across all three location pages increased 143 percent
- All three locations reached top 3 map pack positions for their primary neighbourhood search terms, with the North York and Etobicoke locations reaching the number 1 map pack spot
- Direct online orders through the new native ordering system increased 156 percent over the engagement period
- Third-party delivery platform commission costs dropped by an estimated 22 percent as customers shifted toward direct ordering
- Combined Google Business Profile reviews across all three locations grew from 187 to 412, with average ratings improving from 4.2 to 4.7 stars
- Catering inquiries, previously untracked, generated 34 qualified leads through the new catering landing pages in the final two months alone
Ownership has since approved plans for a fourth location in Vaughan, citing improved digital infrastructure as a factor in being ready to scale.
Timeline
The engagement ran over 4 months. Month 1 focused on Google Business Profile consolidation and cleanup across all three locations. Month 2 covered the website rebuild with location-specific pages and the native ordering system integration. Month 3 introduced the centralized social media strategy and catering landing pages. Month 4 focused on local link building and review generation, with map pack rankings and direct order volume climbing steadily through the final weeks.
Client Quote
“Running three locations meant three sets of problems that nobody had time to fix properly. Canada Create came in and treated our brand as one business instead of three separate headaches. Cutting our dependency on delivery apps has made a real difference to our margins, and seeing all three restaurants show up at the top of the map now feels like we’re finally getting credit for the food we’ve always been proud of.”
Elias, Co-Owner
Services Used
- [Local SEO](/services/local-seo/)
- [Website Design & Development](/services/web-design/)
- [Google Business Profile Optimization](/services/google-business-profile/)
- [Social Media Marketing](/services/social-media-marketing/)
Ready to Get Your Locations Found and Ordered From?
If your restaurant locations are fighting duplicate listings, inconsistent branding, or high delivery app fees, Canada Create can help you fix all three. Book a free strategy call and we’ll show you how to bring more direct orders in the door.
Call 416-273-9030, email info@canadacreate.com, or book your free strategy call today.
Canada Create is a Toronto-based SEO, web design, and AI automation agency rated 4.8 stars from 90 Google reviews. Visit us at 126 Willowdale Ave Suite #3, North York, ON M2N 4Y2.
—
*Amir Vincent, Founder & Principal Strategist*
Want Canada Create to work on this for you?
Book a free 15-minute call with Amir Vincent. No pitch, just clarity on your next move.
Or call 416-273-9030 | 4.8 stars, 90 Google reviews
