Are you searching for a method to add and customize admin columns in WordPress?
The default WordPress dashboard includes columns for posts, pages, comments, users, and more. However, you can enhance your workflow and streamline editorial processes by creating custom columns.
In this guide, we will demonstrate how to add and customize admin columns in WordPress.
Benefits of Adding Admin Columns in WordPress
The WordPress dashboard displays varying columns across different sections.
For instance, if you navigate to Posts »All Posts, you will see columns for each post’s title, author, categories, tags, comment count, and publication date.
Managing content can be challenging in a multi-author WordPress blog or when handling a large volume of posts, especially if you can’t access the necessary information quickly.
This is where custom admin columns become valuable.
By adding additional columns to the admin area, you can display all the essential information that editors, administrators, and other users need to effectively complete their tasks. This can enhance the editorial workflow and increase productivity.
Additionally, you can utilize various attributes to better organize your content. For example, by adding a column for ‘Featured Images,’ you can quickly identify which posts lack an image without needing to open each one. This feature also enables you to easily evaluate important details of a blog post, such as the number of comments received or the word count of the article.
In summary, incorporating admin columns enhances your ability to view information clearly and manage your website more effectively.
Now, let’s explore how to add and customize admin columns on your WordPress site.
Adding and Customizing Admin Columns in WordPress
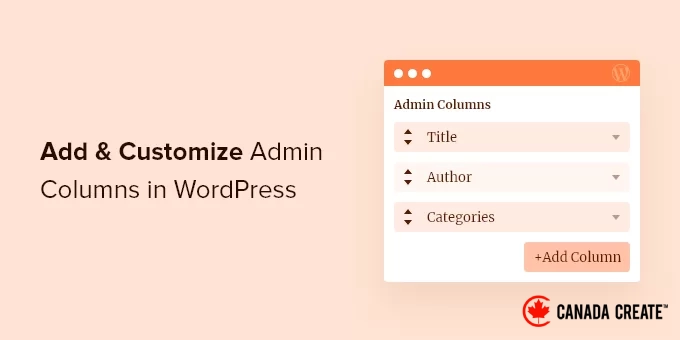
The simplest way to add more columns in the admin area is by using the Admin Columns plugin. This tool enables you to create custom columns and modify the existing built-in admin columns.
First, install and activate the Admin Columns plugin on your website. For detailed instructions, please refer to our guide on how to install a WordPress plugin.
After activation, navigate to Settings » Admin Columns to set up the plugin.
Admin Columns allows you to personalize the columns on the pages, posts, comments, patterns, media, and user screens.
At the top of the screen, open the dropdown menu and select the page you wish to customize. Then, click on ‘View.’
Once that’s done, you can rearrange the built-in admin columns by simply dragging and dropping them.
You can also personalize any column by hovering your mouse over it and clicking the ‘Edit’ link that appears.
Next, you can modify the column’s label by entering a new name in the ‘Label’ field.
Additionally, you can adjust the column’s width to ensure that all information displays comfortably on the screen.
Finally, you can select the ‘Type’ of information that will be shown in the admin column.
Once you’re satisfied with the arrangement of the built-in columns, you may want to create your own custom columns.
For instance, you could add a ‘Featured Image’ column to thePosts»All Postsscreen, allowing admins to view all featured images on your WordPress site.
To begin, click the ‘+ Add Column’ button. This will create a blank ‘Actions’ column that you can customize.
Easily add a label and adjust the width using the various dropdown menus and settings. Then, select the information you wish to display from the ‘Type’ dropdown, such as post format, permalink, or custom fields.
Your selection may unlock additional settings. For instance, if you choose ‘Featured Image’ from the ‘Type’ dropdown, you can select from different WordPress image sizes.
Once you are satisfied with your changes, remember to click the ‘Save’ button.
You can also customize other sections of the WordPress admin dashboard. Simply scroll to the top of the page and use the dropdown menu to select a different area of your site.
For instance, if you select ‘Media’, you can add columns for image dimensions, EXIF data, alt text, and captions.
Customize Additional Admin Columns in WordPress
Several popular WordPress plugins automatically introduce columns in the admin area.
For example, the All in One SEO for WordPress plugin adds columns that allow you to bulk edit SEO titles, meta descriptions, and more.
To remove a column added by a plugin from the admin screen, click on the Screen Options menu located in the top right corner.
In the settings panel that opens, just uncheck the boxes next to the columns you wish to remove.
We trust this article has assisted you in customizing and adding admin columns in WordPress. Additionally, feel free to explore our guide on creating an email newsletter or check out our expert recommendations for essential WordPress plugins for business websites.
If you enjoyed this article, please consider subscribing to our YouTube Channel for WordPress video tutorials. You can also connect with us on Twitter and Facebook.