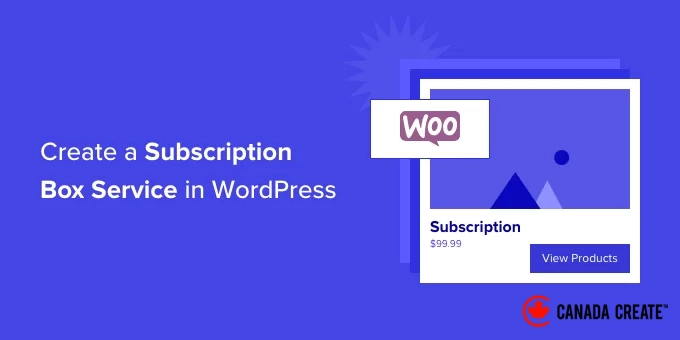
One of our readers recently inquired about the feasibility of launching a subscription box service using WordPress. The good news is that it is indeed possible and simpler than you might expect. For instance, the company Hello Subscription successfully created their entire subscription box directory utilizing WordPress and WooCommerce.
Through some experimentation, we have discovered an effective method to establish your own subscription box service with WordPress and a selection of essential plugins. This process can be completed quickly and at a low cost.
Whether you are a small business owner or an entrepreneur with an innovative idea, this guide will assist you in launching your subscription box service. Let’s get started and bring your business to life.
What Is a Subscription Box Service?
A subscription box service is an intelligent approach to generating consistent revenue for your online store through regular deliveries of tangible products.
Subscription boxes provide more than just a delivery service; they create a tailored experience with curated products that offer genuine value to your customers, including variety, convenience, and cost savings. They are particularly effective in niche markets and for specialty products.
For instance, HelloFresh is a popular subscription box service that delivers meal ingredients directly to your doorstep each week. Other notable examples include Dollar Shave Club and Bean Box, which provide grooming products and coffee, respectively, through subscription models.
Subscription boxes are a powerful method for generating recurring revenue, as customers tend to make regular purchases rather than just one-time buys. They often yield higher profit margins, and more than two-thirds of consumers in the United States have experienced them.
Now, let’s explore the steps to establish your own subscription box service using WordPress.
What Do You Need to Launch a Subscription Box Business?
Starting a subscription box business is more straightforward than you may think. Here’s what you will need:
- A defined theme and target audience for your subscription box
- A domain name (such as CanadaCreate.com)
- A WordPress hosting plan to manage your files and website data
- eCommerce and subscription box plugins to create and oversee your products and subscription plans
- One to two hours to complete the setup
That’s all you need!
This guide will take you through each step of launching your subscription box service. If you encounter any issues or have questions, feel free to leave a comment below or check our guide on obtaining WordPress support.
Use the quick links below to easily navigate through the steps:
- Step 1: Set Up Your WordPress Website
- Step 2: Create Your Subscription Box Service in WordPress
- Step 3: Add Products to Your Subscription Box
- Step 4: Showcase Your Subscription Boxes in Your Online Store
Step 1: Set Up Your WordPress Website
WordPress is the ideal platform for building and managing your subscription box business because it is free and offers complete control over your website. This is why more than 43% of all websites on the internet are built with WordPress.
Beginners often make the mistake of selecting the wrong version of WordPress, as there are two distinct types that can be confusing.
Avoid WordPress.com, which is a hosting service that can become costly and restricts the features available to you.
We recommend using WordPress.org, also known as self-hosted WordPress. This free software can be installed on your own hosting and domain. Don’t worry, it’s simpler than it seems.
To begin, you will need to acquire web hosting.
Typically, web hosting is priced at $7.99 per month, a domain name starts at $14.99 annually, and an SSL certificate costs approximately $69.99 each year.
This can represent a significant expense when you’re just starting your business.
Fortunately, Bluehost has partnered with us to provide our readers with an exclusive discount on web hosting, along with a complimentary domain name and SSL certificate.
You can begin your journey for as little as $2.99 per month.
Just click the Bluehost button below, and the discount will be automatically applied to your order.
Once your hosting account is set up, check out our guide on how to create a WordPress website for detailed, step-by-step instructions.
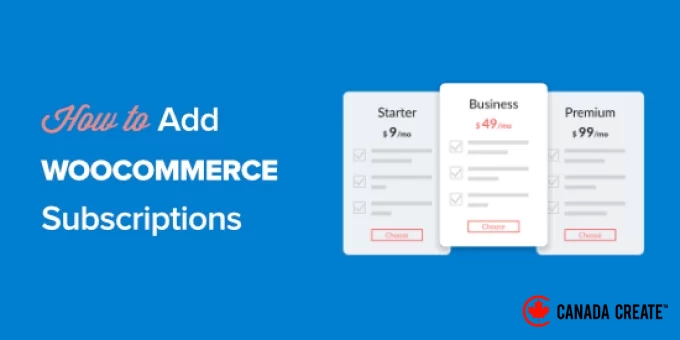
Step 2: Set Up Your Subscription Box Service Using WordPress
After establishing your WordPress site, you’ll need to install a few essential plugins to create your subscription box service:
- WooCommerce, the leading eCommerce platform for WordPress
- Woo Subscriptions, an extension of WooCommerce designed for various paid subscription models
- Subscription Box for WooCommerce, an add-on for the Subscriptions extension that enables customers to curate their own boxes.
If you haven’t established an eCommerce store yet, check out our comprehensive guide on starting your online store. It will guide you through the initial steps, including installing WooCommerce.
Next, install and activate the Woo Subscriptions extension. For detailed instructions, refer to our step-by-step guide on how to install a WordPress plugin.
Once you’ve installed the WooCommerce Subscriptions plugin, proceed to install and activate the Subscription Box for WooCommerce extension.
This extension provides features that simplify the creation of a subscription box service, enabling your customers to customize their own boxes and modify their subscription plans.
After configuring these plugins, ensure that you select a website template, commonly referred to as a theme. There are numerous pre-designed WooCommerce themes available for you to choose from.
Alternatively, if you prefer a custom website design for your store, consider using a drag-and-drop builder like SeedProd. It allows you to create fully customized WordPress themes without any coding skills.
Additionally, you will need to set up payment gateways such as Stripe or PayPal to facilitate recurring payments from your customers. For more information, check out our guide on how to accept recurring payments in WordPress.
Step 3: Add Subscription Box Products
After setting up your website, the first step is to create a subscription product for your online store.
You will need to select Products » Add New from your admin menu and enter a name for your subscription box.
Additionally, complete the standard WooCommerce product settings, including a description, image, price, and shipping details.
Next, configure the settings for your subscription box by scrolling down to the ‘Product data’ section and selecting ‘Box Product’ from the drop-down menu.
This action will introduce a new tab in the side menu where you can create your box.
Click on the new ‘Build a Box’ tab to set up the specifications for your subscription box and its contents.
First, enter a number in the ‘Box Quantity’ field, indicating how many items your customers can include in the box. Then, select the delivery frequency, such as daily, weekly, monthly, or yearly.
Next, choose a list of products that your customers can pick from when creating a custom box on your WordPress site.
You can choose individual products in the ‘Products’ field, or add an entire product category, such as ‘Coffee’ or ‘Fruit’, in the ‘Product categories’ field.
Consider selecting products that are similar in price and weight. This will help maintain a consistent total cost and weight for the box, making it easier to determine subscription pricing and shipping costs.
Not everyone will want to spend time selecting products individually. You can create a standard box by choosing items in the ‘Default Products’ field.
To add items to your standard box, search for the desired product, enter a quantity, and click the ‘Add To Default Product’ button. Repeat these steps until your subscription box is complete.
Once you are finished, remember to click the ‘Publish’ button on the right side of the screen to make your subscription box available in your WooCommerce store.
If you want to create multiple subscription boxes, simply repeat these steps for each one.
Step 4: Showcase Subscription Boxes in Your Online Store
Next, you need to showcase your subscription boxes in your WooCommerce store.
Go to Pages » Add NewAccess your dashboard to create a new page. Choose an engaging title, such as ‘Create Your Subscription Box’ or ‘Build Your Personalized Bundle’.
Next, utilize the Columns block to add enough columns to showcase your subscription boxes effectively.
For each column, click the ‘+’ button and insert a ‘Build a Box’ block.
Using the Block pane on the left, select the subscription box you want to display from the ‘Selected Box’ drop-down menu.
You can also enter additional text that will be shown, including the box title, name, subscription label, and button label.
After adding all your subscription boxes, click the ‘Publish’ button at the top of the page to make them visible on your website.
When a customer clicks on a subscription box, they will be directed to the shop page for that box, where they can view the list of products available for that subscription.
Customers can add individual products to the box by clicking the ‘Add to Box’ button located beneath each product. They can also specify the quantity of products to be added.
Alternatively, they can click the ‘Add All’ button to create a standard box, which will automatically include all the default products.
After the customer is satisfied with the items in their box, they can move on to checkout and finalize their purchase using their preferred payment methods.
We hope this guide has helped you learn how to set up a subscription box service using WordPress. Additionally, you may want to explore our recommendations for affordable online business ideas and our tips for growing your business online on a budget.
If you enjoyed this article, please subscribe to our YouTube Channel for WordPress video tutorials. You can also connect with us on Twitter and Facebook.