WordPress powers over 40% of websites in 2025, making it a prime target for cyberattacks such as brute force logins, malware injections, and phishing attempts. Protecting your site is essential to maintain its integrity, safeguard user data, and ensure consistent performance. This guide provides 18 comprehensive methods to secure your WordPress website, compiled from extensive research into leading online resources and proven practices. Each step is designed to be practical and accessible, offering detailed instructions to strengthen your site’s defenses while supporting its visibility in search engine rankings. Let’s explore these strategies to keep your WordPress site secure this year.
The Importance of WordPress Security in 2025
The open-source framework of WordPress, combined with its vast library of plugins and themes, offers unmatched flexibility. However, this structure also exposes it to vulnerabilities that cybercriminals exploit using automated tools. In 2025, a compromised site risks data breaches, financial losses, and reputational damage. Additionally, search engines like Google prioritize secure websites, meaning robust security measures enhance both protection and SEO performance. Implementing the following 18 methods will establish a strong defense against current threats.
Need Word Press Web Design in Toronto? Call us
1. Select a Dependable Hosting Provider
A reliable hosting provider forms the foundation of your website’s security. In 2025, choosing a managed WordPress hosting service is highly recommended for its specialized features tailored to this platform.
- Managed hosts like SiteGround, WP Engine, or Kinsta include automatic WordPress updates, reducing the risk of running outdated software.
- Server-level firewalls and malware scanning are standard, providing proactive protection against threats.
- Isolated environments prevent cross-contamination from other sites, unlike budget shared hosting plans.
Steps to choose and set up:
- Research providers with strong security reputations via online reviews and comparison sites.
- Confirm the plan includes SSL certificates, DDoS protection, and 24/7 customer support.
- Select a managed WordPress package suited to your site’s traffic and budget, typically $10-$30 monthly.
- Register, migrate your site using provided tools or support, and verify security features are active. This initial investment significantly lowers vulnerability to common attacks.
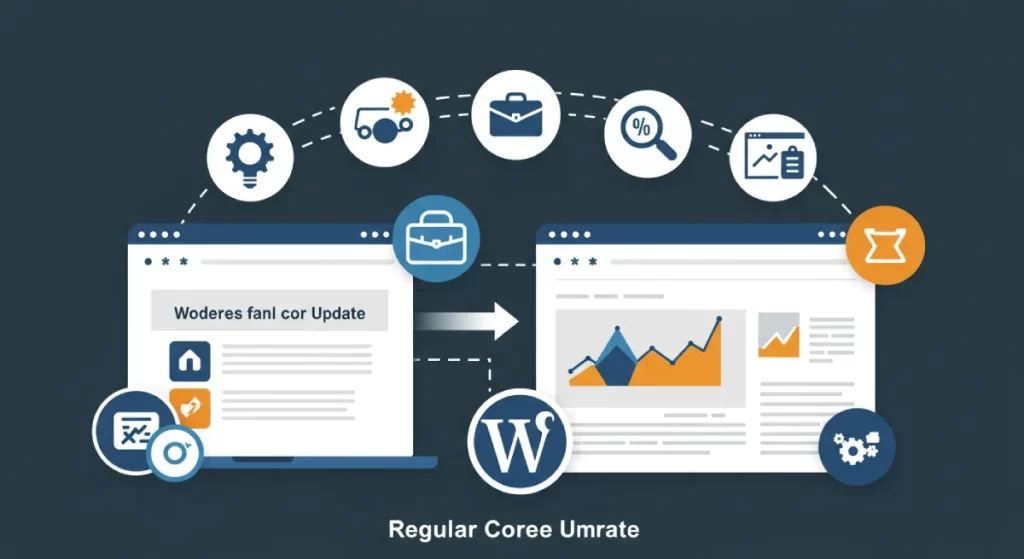
2. Maintain Regular WordPress Core Updates
Keeping the WordPress core updated is a fundamental security practice. Updates address known vulnerabilities and improve system stability.
- Released updates patch security flaws that attackers target in older versions.
- Minor updates (e.g., 6.4.1 to 6.4.2) can be automated, while major updates (e.g., 6.4 to 6.5) often require manual installation.
Steps to implement:
- Access the WordPress dashboard and navigate to Updates.
- Enable automatic updates for minor releases in the settings panel.
- Manually check for major updates monthly, installing them after creating a full site backup.
- Use a staging environment to test compatibility with existing themes and plugins before applying updates live. Regular updates ensure your site remains resilient against exploits targeting outdated software.
✔️ Also Read: How to Improve Website Load Time and Speed: Complete Guide
3. Update Themes and Plugins Consistently
Themes and plugins require consistent updates to close security gaps, as they are frequent entry points for malicious activity.
- Developers release updates to fix vulnerabilities and ensure compatibility with the latest WordPress version.
- Unused themes and plugins, even if deactivated, can still be exploited if not removed.
Steps to manage updates:
- Source themes and plugins from reputable platforms like WordPress.org or premium marketplaces such as ThemeForest.
- In the dashboard, go to Plugins > Installed Plugins and enable auto-updates for each active plugin.
- Under Appearance > Themes, update the active theme when notifications appear.
- Delete unused themes and plugins by selecting them and choosing the “Delete” option.
- Schedule a monthly review to confirm all components are current and remove unnecessary items. This disciplined approach minimizes risks associated with outdated or abandoned software.
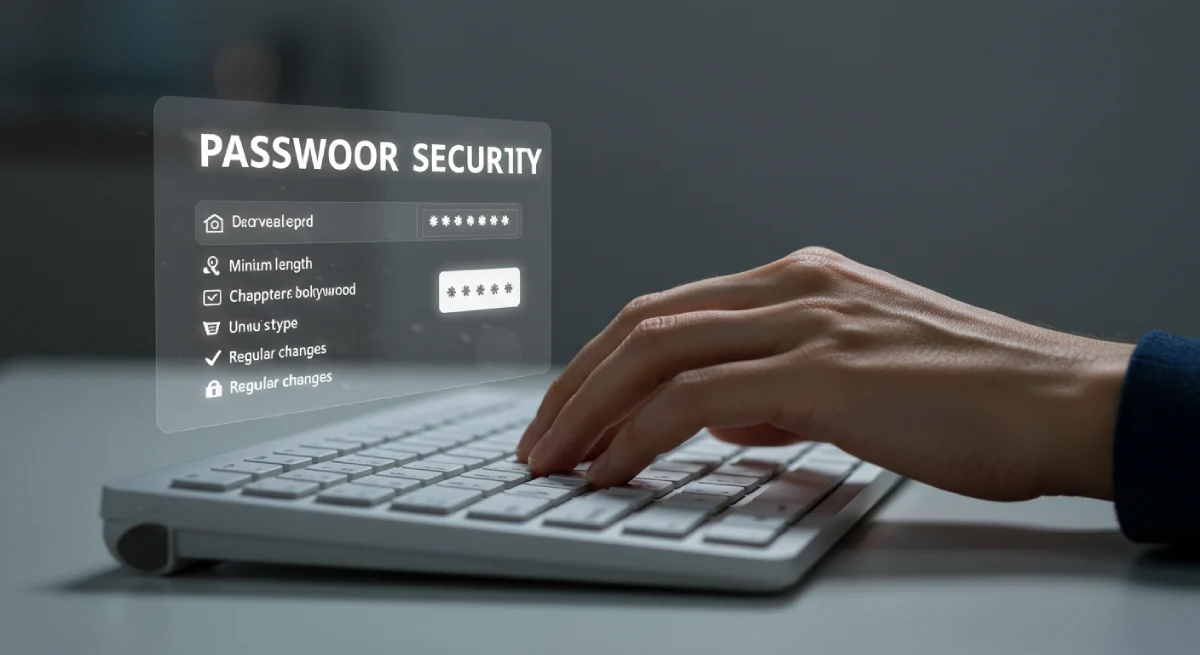
4. Enforce Strong, Unique Passwords
Strong passwords are a critical barrier against unauthorized access. In 2025, robust password policies are essential to counter brute force attacks.
- Passwords should be complex, incorporating uppercase, lowercase, numbers, and special characters (e.g., “K9$mPx!vQz23”).
- Reusing passwords across sites increases exposure if one account is compromised.
Steps to enforce:
- Utilize a password manager such as LastPass or 1Password to generate and store unique passwords.
- Require all site users (admins, editors, contributors) to adopt similar standards.
- Update passwords every six months and avoid common phrases or personal information.
- Implement a policy communicated to all users, emphasizing the need for complexity and regular changes. This practice significantly reduces the likelihood of successful password-based attacks.
✔️ Also Read: Wix Vs. WordPress | Which is Better?
5. Activate Two-Factor Authentication (2FA)
Two-factor authentication adds a secondary verification layer, enhancing login security beyond passwords alone.
- 2FA requires a code from a device or email, blocking access even if a password is stolen.
- It’s particularly valuable for users with administrative privileges.
Steps to activate:
- Install a plugin like Wordfence, Two Factor Authentication, or Google Authenticator from the plugin directory.
- Navigate to Users > Your Profile in the dashboard and enable 2FA.
- Follow prompts to link it to an authenticator app (e.g., Authy) by scanning a QR code.
- Ensure all users with elevated roles activate 2FA and store backup codes securely. This additional step provides a reliable safeguard against compromised credentials.
6. Replace the Default “Admin” Username
The default “admin” username is a common target for automated attacks, making it a liability.
- Changing it disrupts scripts that assume “admin” as the default login.
- Unique usernames reduce the predictability hackers rely on.
Steps to replace:
- For new installations, set a custom username (e.g., “siteowner2025”) during setup.
- For existing sites, create a new admin account via Users > Add New with a unique name and full privileges.
- Log in with the new account, then delete the “admin” account, reassigning content to the new user.
- Alternatively, install the Username Changer plugin to rename the existing account directly. This adjustment complicates attack patterns and strengthens login security.
7. Restrict Login Attempts
Limiting login attempts prevents brute force attacks by locking out users after repeated failures.
- It stops automated bots from endlessly guessing passwords.
- Customizable settings allow flexibility based on your site’s needs.
Steps to restrict:
- Install the Limit Login Attempts Reloaded plugin from the WordPress repository.
- Go to Settings > Limit Login Attempts and configure it—e.g., lock out after 5 failed attempts for 30 minutes.
- Test the settings by entering incorrect credentials to confirm the lockout triggers.
- Add your IP to the whitelist to avoid accidental lockouts during maintenance. This measure effectively deters persistent login attempts without impacting legitimate users.
8. Deploy a Web Application Firewall (WAF)
A web application firewall filters incoming traffic, blocking malicious requests before they reach your site.
- It protects against DDoS attacks, SQL injections, and suspicious IP activity.
- Services like Cloudflare and Sucuri offer scalable solutions for different site sizes.
Steps to deploy:
- Sign up for Cloudflare (free plan available) and update your domain’s nameservers as instructed by your registrar.
- Alternatively, choose Sucuri, install its plugin, and activate the WAF via the setup wizard.
- Monitor the service dashboard to review blocked threats and adjust filtering rules if necessary.
- Verify functionality by checking for reduced spam or attack attempts in logs. A WAF acts as a proactive shield, enhancing overall site resilience.

9. Install an SSL Certificate
An SSL certificate encrypts data between your site and visitors, ensuring secure communication.
- It changes your URL to “https://” and displays a padlock, signaling trust to users and search engines.
- Google penalizes non-SSL sites, impacting SEO rankings.
Steps to install:
- Access your hosting control panel and enable a free Let’s Encrypt SSL certificate, typically a one-click option.
- Install the Really Simple SSL plugin to enforce HTTPS across all pages and resolve mixed content issues.
- Confirm the certificate is active by checking for the padlock in your browser’s address bar.
- Set a renewal reminder if not automated, as certificates typically expire every 90 days. This step is non-negotiable for security and search engine optimization in 2025.
10. Schedule Regular Site Backups
Regular backups provide a recovery option in case of hacks, crashes, or errors.
- They allow quick restoration of files and databases, minimizing downtime.
- Off-site storage ensures accessibility even if your server is compromised.
Steps to schedule:
- Install UpdraftPlus or BackupBuddy and configure automatic backups (daily or weekly).
- Connect to a cloud service like Google Drive or Dropbox for secure off-site storage.
- Include both files and database in the backup scope for full coverage.
- Test the restoration process quarterly using a staging site to verify reliability. This routine ensures you’re prepared for worst-case scenarios with minimal disruption.
11. Secure the wp-config.php File
The wp-config.php file contains sensitive information like database credentials, requiring strict protection.
- Securing it prevents unauthorized access to critical configuration details.
- Multiple layers of defense can be applied for maximum safety.
Steps to secure:
1- Move the file one directory above the WordPress root folder using your hosting file manager or FTP.
2- Add the following code to your .htaccess file to block direct access:
<files wp-config.php>

order allow,deny
deny from all
</files>
4- Confirm the site functions normally after changes to avoid configuration errors. These measures safeguard a key component of your WordPress installation.

12. Disable File Editing in the Dashboard
By default, WordPress allows theme and plugin file editing in the dashboard, posing a risk if exploited.
- Disabling this feature prevents attackers from modifying code if they gain access.
- It forces legitimate edits to occur via secure methods like FTP.
Steps to disable:
1- Access wp-config.php through your hosting control panel or FTP client.
2- Insert this line before the “That’s all” comment:
define('DISALLOW_FILE_EDIT', true);3- Save the file and verify the editor is disabled under Appearance > Theme Editor.
4- Use an FTP client like FileZilla for future edits as an alternative. This restriction eliminates a potential attack vector without affecting site functionality.
13. Conceal Your WordPress Version
Displaying the WordPress version in your site’s code reveals potential vulnerabilities to attackers.
- Hiding it reduces the risk of targeted exploits based on version-specific flaws.
- It’s a simple adjustment with immediate benefits.
Steps to conceal:
1- Edit your theme’s functions.php file and add:
remove_action('wp_head', 'wp_generator');2- Alternatively, install iThemes Security and enable the “Hide WordPress Version” setting.
3- Check your site’s source code (right-click, “View Page Source”) to ensure the version is no longer visible.
4- Maintain regular updates regardless to stay protected against known issues. This step obscures valuable information from potential intruders.
14. Perform Regular Malware Scans
Malware can infiltrate your site through plugins, themes, or backdoors, necessitating routine checks.
- Scans detect and remove malicious code before it causes significant harm.
- Automated tools simplify the process for consistent monitoring.
Steps to perform:
- Install a plugin like Wordfence or Sucuri Scanner and activate it.
- Configure weekly scans in the plugin settings, adjusting frequency based on site activity.
- Review scan reports for suspicious files or code, using the plugin’s tools to delete or quarantine threats.
- Enable real-time alerts via email for immediate notification of detected issues. Regular scanning maintains site integrity and protects visitor trust.
15. Configure Directory Permissions Properly
Correct file and directory permissions prevent unauthorized modifications to your site’s structure.
- Improper settings allow attackers to alter or delete critical files.
- Standard permissions balance security and functionality.
Steps to configure:
1- Use an FTP client (e.g., FileZilla) to set directories to 755 and files to 644.
2- Add this line to your .htaccess file to disable directory browsing:
Options -Indexes3- Verify settings in your hosting file manager and test site access to ensure no disruptions.
4- Consult your hosting provider if specific files require custom permissions. This configuration restricts access while maintaining operational efficiency.
16. Customize Your Database Prefix
The default “wp_” database prefix is predictable, making it easier for attackers to target tables.
- A unique prefix complicates SQL injection attempts and enhances security.
- It requires careful execution to avoid errors on live sites.
Steps to customize:
- For new sites, set a custom prefix (e.g., “xyz2025_”) during WordPress installation.
- For existing sites, install the Change DB Prefix plugin and back up your database fully.
- Run the plugin to change the prefix, then update wp-config.php with the new value.
- Test all site functions (e.g., posts, pages, plugins) to confirm successful migration. This adjustment adds an extra layer of obscurity to your database structure.
17. Utilize a Comprehensive Security Plugin
Security plugins consolidate multiple protective features into a single, manageable tool.
- They offer firewalls, malware scanning, and login enhancements in one package.
- Popular options cater to varying levels of expertise and site needs.
Steps to utilize:
- Install a plugin like Wordfence, Sucuri, or iThemes Security from the WordPress repository.
- Complete the setup wizard to activate the firewall, configure scans, and enable alerts.
- Customize settings—e.g., block specific IPs or countries prone to attacks.
- Review plugin logs monthly and keep it updated to maintain effectiveness. This all-in-one approach streamlines security management for efficiency.
18. Monitor User Activity Logs
Tracking user actions is vital for sites with multiple contributors, ensuring accountability and early detection of issues.
- Logs reveal login attempts, content changes, and file uploads, highlighting anomalies.
- Regular reviews prevent escalation of unauthorized activity.
Steps to monitor:
- Install WP Activity Log and access its dashboard to view detailed logs.
- Check logs weekly for unusual patterns, such as logins from unrecognized locations.
- Configure email alerts for critical events, like admin account changes or logins.
- Revoke access immediately if suspicious behavior is detected, updating credentials as needed. This oversight maintains control over user interactions and site integrity.
Final Considerations
Securing your WordPress website in 2025 demands a proactive, multi-layered approach. Begin with foundational steps—selecting a reliable host, maintaining updates, and enforcing strong passwords. Build on these with advanced protections like firewalls, backups, and user monitoring. Establish a monthly maintenance schedule to review these elements, ensuring ongoing vigilance. These 18 methods not only defend against threats but also bolster SEO by aligning with search engine preferences for secure sites. For additional insights or clarification, feel free to engage in the comments section below—open discussion enhances our collective knowledge.